

Inspired: After Mr Pham and I got married we returned from our Honeymoon with a house full of wedding decorations. Frames being one of them. I had stored them away into boxes and kept them under our staircase (I felt like I was throwing away money when I thought of throwing our wedding decorations in the bin). A few weeks ago after looking through the boxes I saw the frames that had very well collected dust and was inspired to recycle one of them into a chalk board.
Verdict: It sits in our kitchen with a daily check list written up there. Nothing feels better than ticking off something you've accomplished, especially when it's written on something so adorable!


- Your old photo frame
- Chalkboard adhesive paper (bunnings)
- A dry paint brush
- Paint - I had chosen white (dollar store)
- A pair of scissors

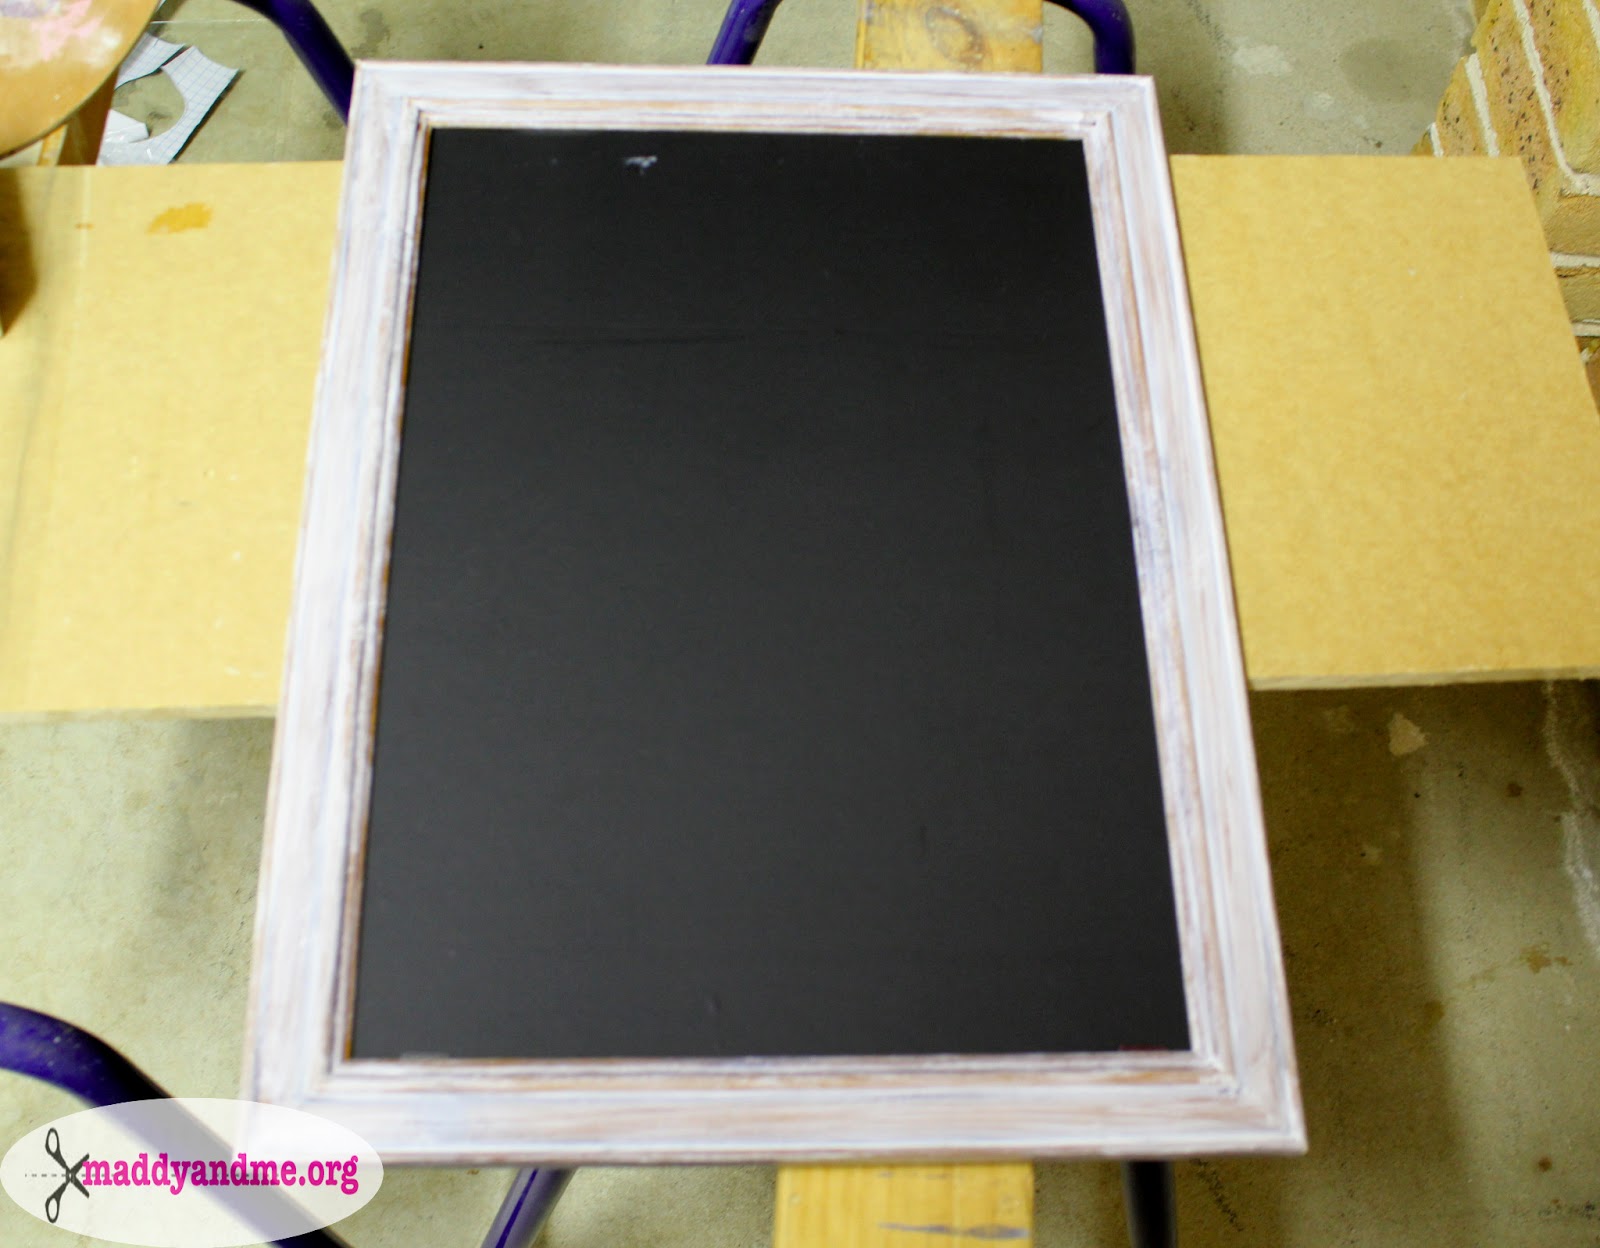
Disassemble your frame - making sure to take out the glass.
Continue your DIY by painting the frame, for a more rustic look make sure you use a dry brush, using long brush strokes with light layers.
I had painted 2 very sheer layers.

Allowing the frame to dry, get the back base of the frame and lay it on the wrong side of your adhesive chalk board paper.
Leaving about a 2cm gap, cut around the back base of your frame.
Continue by covering the back base of the frame - making sure there is no air bubbles.

Once the frame is dry reassemble everything together.
Decorating.


I hope you all enjoyed this DIY Tutorial and give it a try!
If you do decide to do this Tutorial, I would love to check it out, just hashtag it on Instagram with #maddyandme
No comments:
Post a Comment