

DIY your own Usamimi Head Band with this easy Tutorial.
Verdict: So easy and simple I've made 4 more! I can't wait to wear these in the warmer seasons.

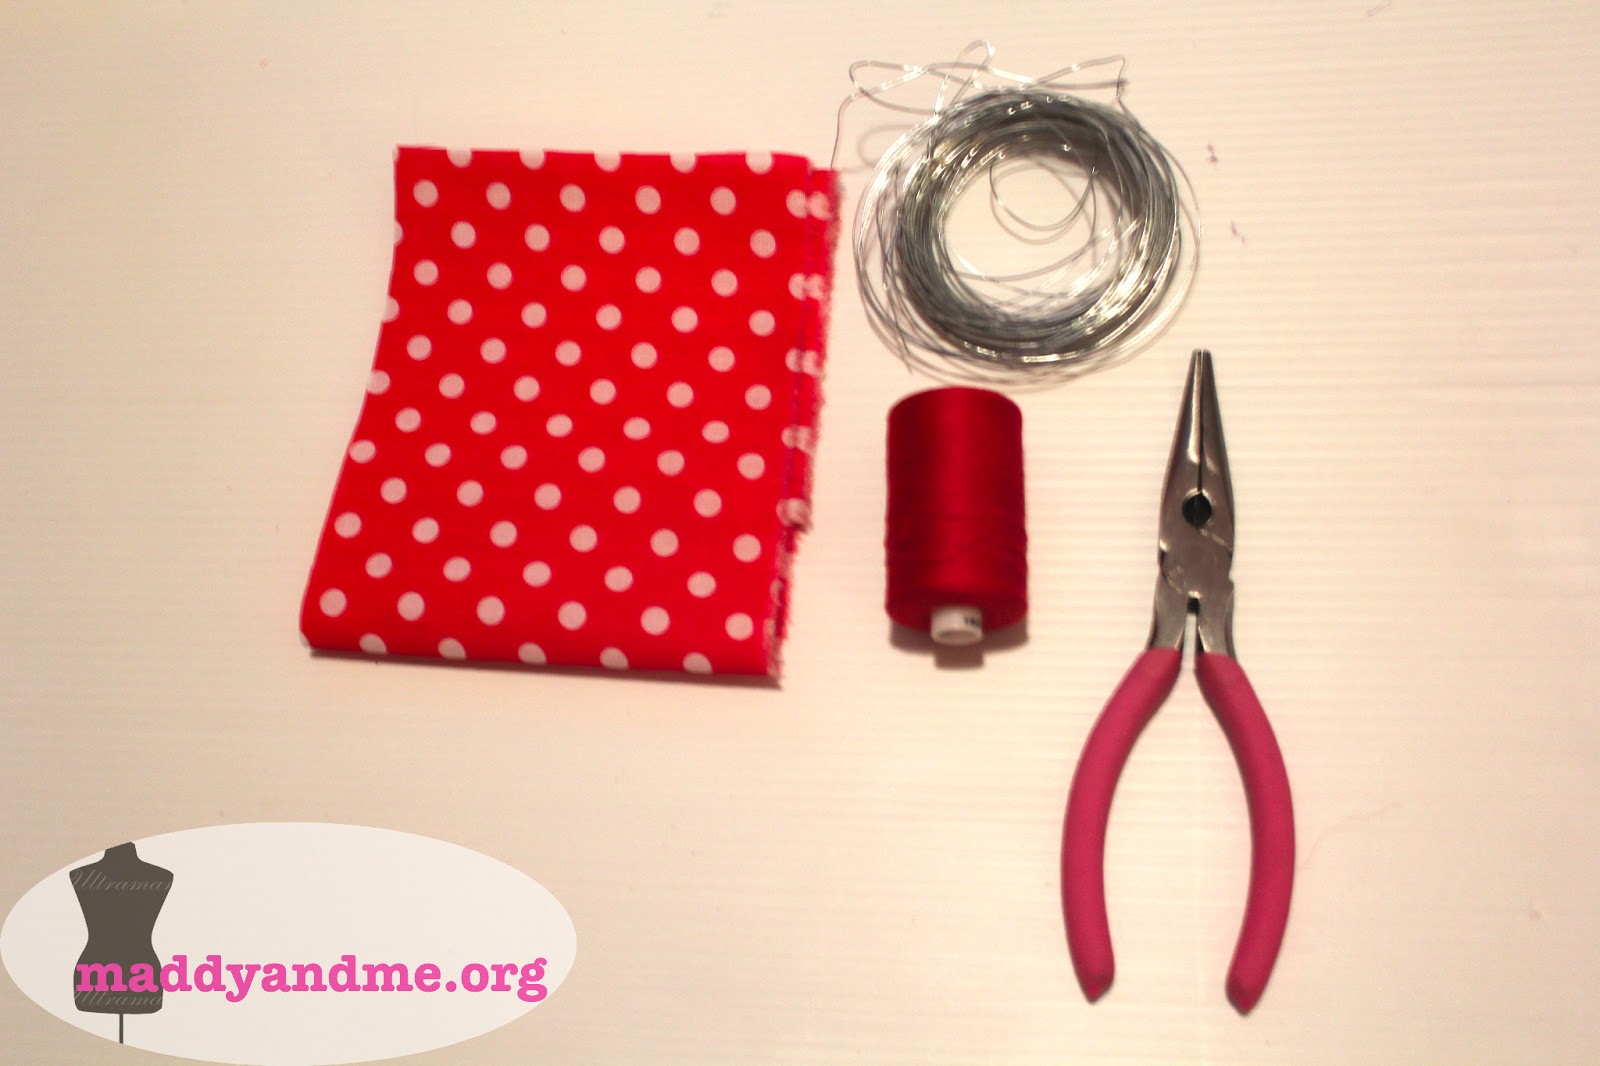
Materials You Will Need:
- Fabric (I used scraps I had from previous projects)
- Jewellery Wire (Dollar Store)
- Matching Thread & Needle
- Pair of pliers (Dollar Store)

Cut your fabrics according to the template I had provided.

Cut your wire. The length I had cut mine was 40cm (the same as the length of my fabric).

Loop and bend both ends of your now cut wire, making sure to flatten the end as much as possible (so you don't get poked by the wire).

Fold your fabric longwise, making sure that the wrong side of the fabric is facing you.
Sew a straight line to secure closure (1 cm from the edge) along the top as indicated in the picture.

Turn the fabric inside out.
Fold in one of the corners on one of the ends of the fabric. It should look similar to the picture.

Pop your wire inside the fabric.
Repeat Step Five to the other end of the fabric.
Yay! You are now done!

Wrap it around your head and place one end over the other.

Styling.

I hope you all enjoyed this DIY Tutorial and give it a try!
If you do decide to do this Tutorial, I would love to check it out, just hashtag it on Instagram with #maddyandme
No comments:
Post a Comment