


- Hole Punch Sheet Protector Stickers - Daiso (Optional)
- Ruler
- Hole Puncher
- Pencil
- Twine - Dollar Store
- Vintage Paper - click HERE for our DIY.

Using your ruler and pencil, draw a 5cm base line.

On the right side of the base line, mark a dot at 7cm and another one at 8cm.

On the left side of your 8cm dot, make a mark at 1cm.
Join both the 7cm dot and the 1cm dot together with a line.

Join your base line to the 7cm dot - as indicated in the picture.

Repeat the steps with the opposite side of the base line.


At the top of your tag, join both of the 1cm dots with a line.

Cut your tag out.

Mark and hole punch the center of your 1cm line.

Stick your hole punch sheet protector sticker over the hole.

Cut your twine to your desired length and thread both ends through the hole, leaving a loop free - as indicated in the picture.
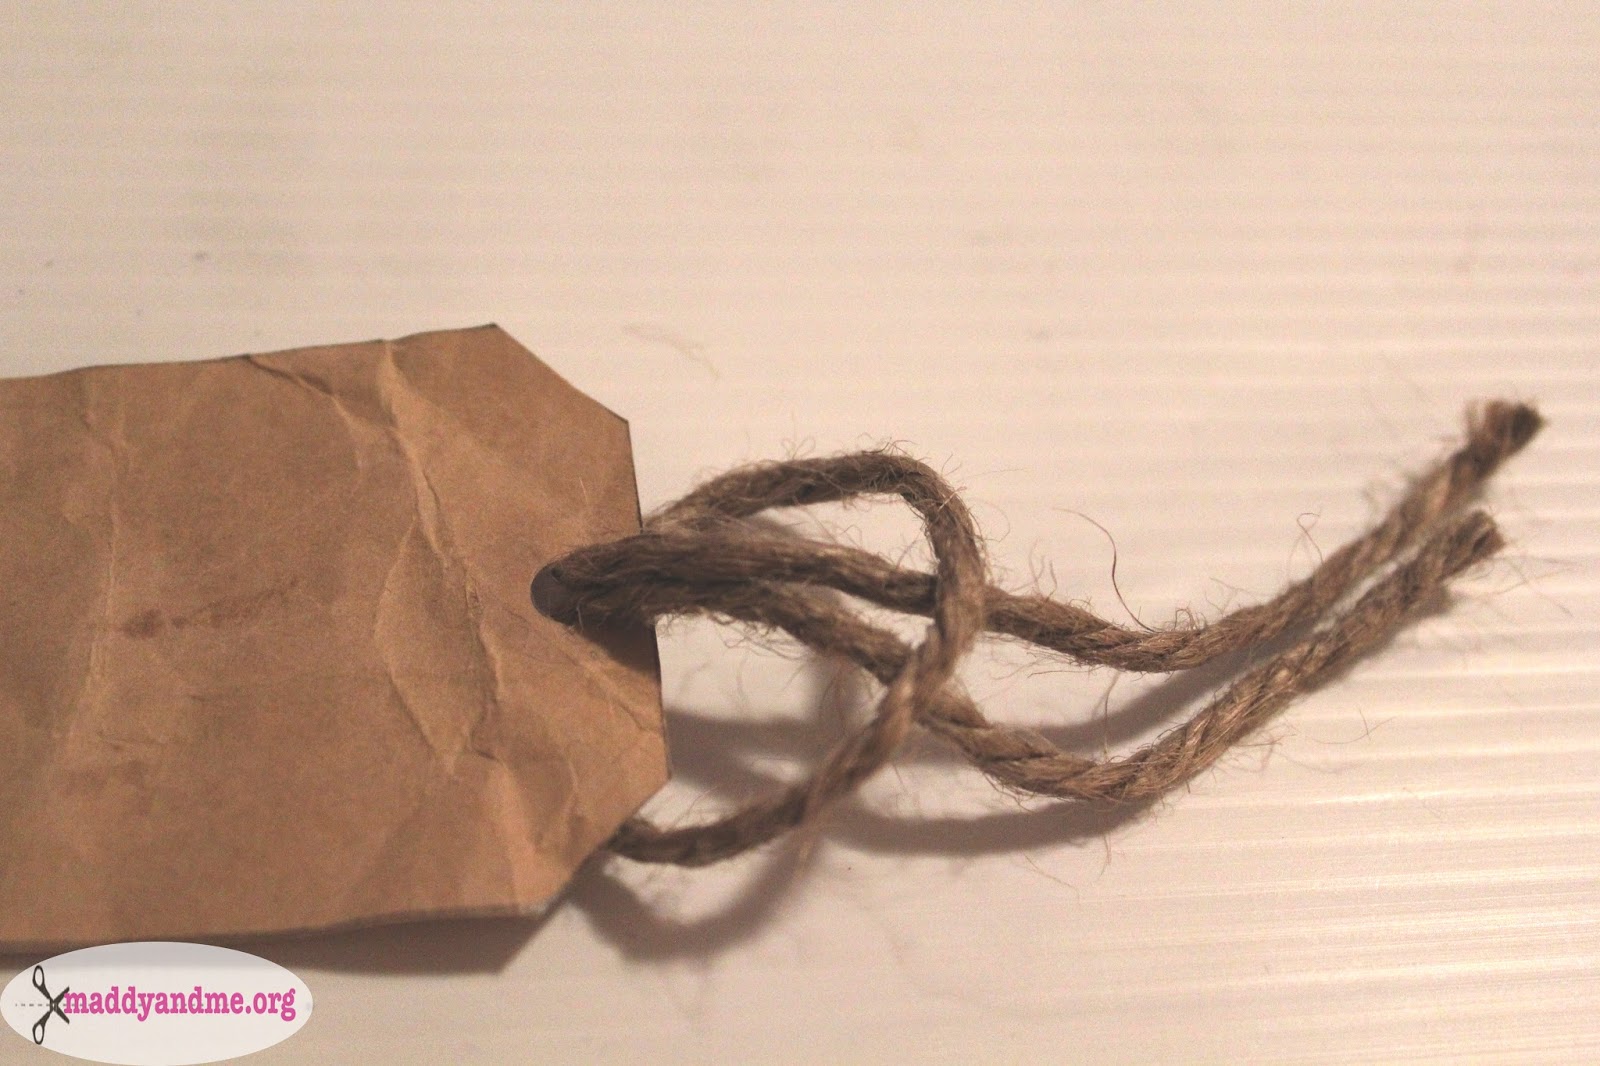
Thread the two ends of your twine through the free loop and pull it to tighten the knot.


Gift Tagging


First time visiting? Feel free to check out my other DIY Tutorials and follow by email (located on the top left corner) for news about future updates and DIY's.
Instagram: Maddyandme12
Twitter: Maddyandme
Pinterest: Maddyandme
If you do decide to do this Tutorial, I would love to check it out, just hashtag it on Instagram with #maddyandme
No comments:
Post a Comment