Showing posts with label headband. Show all posts

Wednesday, 17 July 2013

DIY: Usamimi Head Band

DIY your own Usamimi Head Band with this easy Tutorial.

Inspired: By a past DIY Post of mine Usamimi Scrunchy DIY Tutorial I instantly wanted to make the Head Band version for Spring. Now that Spring is around the corner I finally made one to add my wardrobe. 
Verdict: So easy and simple I've made 4 more! I can't wait to wear these in the warmer seasons.


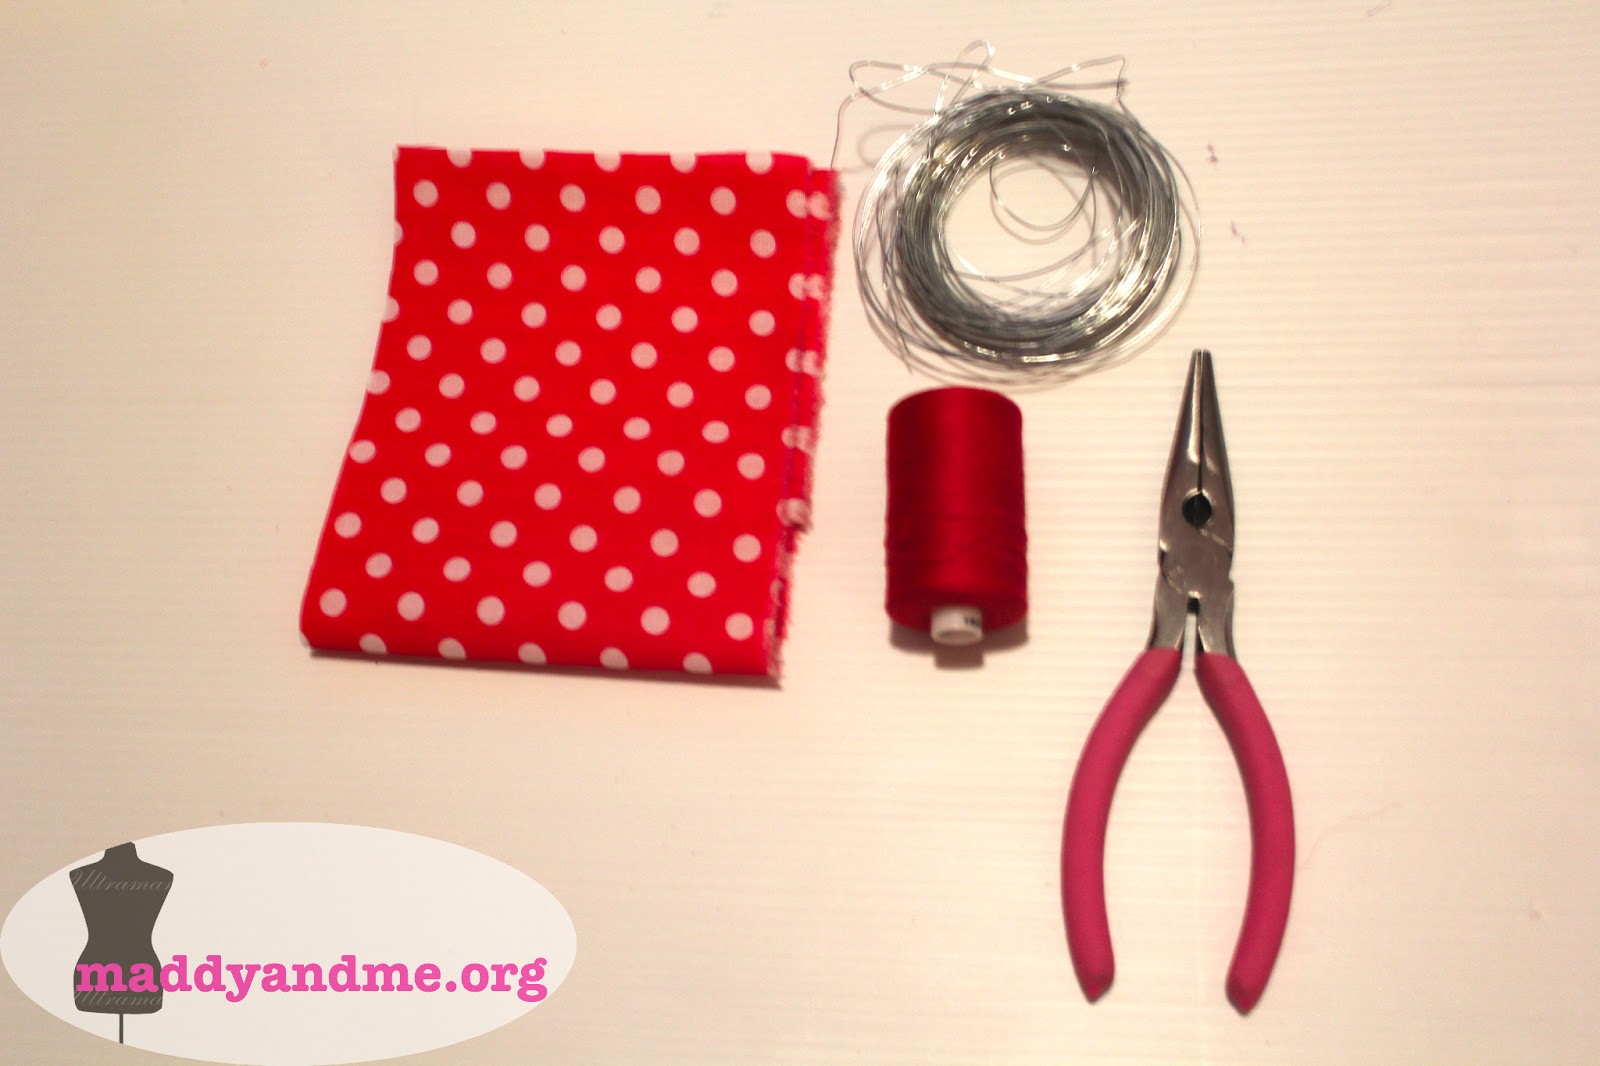
Materials You Will Need:
  • Fabric (I used scraps I had from previous projects)
  • Jewellery Wire (Dollar Store)
  • Matching Thread & Needle
  • Pair of pliers (Dollar Store)


Step One
Cut your fabrics according to the template I had provided. 


Step Two
Cut your wire. The length I had cut mine was 40cm (the same as the length of my fabric).


Step Three
Loop and bend both ends of your now cut wire, making sure to flatten the end as much as possible (so you don't get poked by the wire).


Step Four
Fold your fabric longwise, making sure that the wrong side of the fabric is facing you. 
Sew a straight line to secure closure (1 cm from the edge) along the top as indicated in the picture.


Step Five
Turn the fabric inside out. 
Fold in one of the corners on one of the ends of the fabric. It should look similar to the picture. 


Step Six
Pop your wire inside the fabric. 
Repeat Step Five to the other end of the fabric. 
Yay! You are now done!


Now how do you put it on?
Wrap it around your head and place one end over the other. 


And twist!


Styling. 


I hope you all enjoyed this DIY Tutorial and give it a try!


If you do decide to do this Tutorial, I would love to check it out, just hashtag it on Instagram with #maddyandme

Tuesday, 9 July 2013

DIY: Dolce & Gabbana Inspired Headband


An easy DIY Tutorial on how you can create your own embellished headband inspired by designers Dolce & Gabbana.


Inspired: By the amplified and rich designs of Dolce & Gabbana. I was inspired when fellow fashionista blogger A&C requested a tutorial for this beautiful piece. I researched pictures and immediately fell in love. How could I not want to add this piece to my collection? Something about it screams Victorian, and who am I to pass off that gorgeous fashion era?

Verdict: It was so easy and cheap (you know me), all materials used to make this piece was purchased from The Dollar Store and cost me $10, for something that was easy to make and looks expensive - it was totally worth my $10.
It's absolutely beautiful, you can amp it up completely and wear something as extravagant as the piece itself or tone it down with something simple. Either way this piece is a head turner - and in an absolutely wonderful way!


Materials You Will Need:
Everything used here was purchased from the Dollar Store!
  • Glue Gun
  • Black Headband
  • White pearls
  • Black pearls/beads
  • White fabric flowers
  • Shells (I prespray painted a few gold)


Step One
I glued pearls in a few of the spray painted gold shells - this adds a better look to them.


Step Two
I then began to embellish my head band using my glue gun. I played around with the beads and ornaments with what I thought looked best before gluing them down. 
I also allowed the ornaments/beads to protrude to add more dimension to the head band. 

TIP: As I got closer to the end of the head band (the part that goes behind the ears), I didn't let the ornaments protrude to much from the sides of headband, I kept in mind that I don't want stuff poking the back of my ears.


Yay! It's finished!


Styling.
I am considering on making matching ear rings (just like Dolce & Gabanna did). 


I hope you all enjoyed this DIY Tutorial and give it a try!


If you do decide to do this Tutorial, I would love to check it out, just hashtag it on Instagram with #maddyandme