Showing posts with label DIY. Show all posts

Thursday, 24 October 2013

DIY: Cookie Monster Cupcakes!

Hello friends! Maddyandme is now back with an awesome DIY.

Have a kid's birthday party coming up? Or have a sweet tooth and just want to have fun in the kitchen by creating something delicious? This DIY is perfect for you, Cookie Monster Cupcakes. 

INSPIRATION: Thanks to my photographer savvy, yummy mummy, cousin Jean! (Follow her on Instagram or Twitter, for awesome children, food, fitness and photographer tips.) 
She had tagged me in a photo through Instagram, of these adorable Sesame Street Character Cupcakes. I was keen and couldn't help but figure out how to make these adorable, yummy treats. My nephews birthday was coming up so it seemed like the perfect opportunity for me to record it for you fellow DIYers.

VERDICT: It was definitely a success for my nephews birthday! Even my husband (who isn't much of a sweet tooth) had to have a taste. 


What You Will Need:
  • Cupcakes / muffins
  • White Chocolate Drops
  • Mini Choc Chip Cookies
  • Choc Chip Pieces
  • 200g Butter
  • 1 1/4 Cups of Pure Icing Sugar
  • 1 Teaspoon Vanilla Essence
  • 1 Teaspoon Blue Food Colouring
  • 1 Freeze Bag. 

Step One
In your mixer, combine your Pure Icing Sugar, Butter and Vanilla Essence. 


Step Two
Once fully combined, mix in your Blue Food Colouring.


Step Three
Using a tooth pick dab a little bit of the the blue icing onto your white chocolate drops. 


Step Four
Now stick on your choc chip pieces, you have now made your cookie monster eyes!


Step Five
Put all the blue icing into your freezer bag, make sure to push it all to one of the bottom corners and tie a knot for closure - as indicated in the picture. 


Step Six
Using a skewer or tooth pick, stab small random holes around the bottom corner - as indicated in the picture. 


Step Seven
Now squeeze your icing around the top of the muffin/cupcake. It should look similar to the picture. 


Step Eight
Place your googly eyes at the top of the cupcake.


Step Nine
And place that mini choc chip cookie as a mouth, (after all, what is cookie monster without his cookie?)


Ta-da! A treat that all can enjoy!


COOOOOOKKKIIIIEEEE!! NOM-NOM-NOM!!


First time visiting? Feel free to check out my other DIY Tutorials & Recipe's and follow by email (located on the top left corner) for news about future updates and DIY's. 
Instagram: Maddyandme12
Twitter: Maddyandme
Pinterest: Maddyandme
If you do decide to do this Recipe, I would love to check it out, just hashtag it on Instagram with #maddyandme

Monday, 16 September 2013

DIY: Vintage Gift Tags

This Vintage Gift Tag DIY is what you need to add that little Home Made Vintage touch to your gifts. 


What You Will Need:
  • Hole Punch Sheet Protector Stickers - Daiso (Optional)
  • Ruler
  • Hole Puncher
  • Pencil
  • Twine - Dollar Store
  • Vintage Paper - click HERE for our DIY.


Step One
Using your ruler and pencil, draw a 5cm base line. 


Step Two
On the right side of the base line, mark a dot at 7cm and another one at 8cm.


Step Three
On the left side of your 8cm dot, make a mark at 1cm.
Join both the 7cm dot and the 1cm dot together with a line.


Step Four
Join your base line to the 7cm dot - as indicated in the picture. 


Step Five
Repeat the steps with the opposite side of the base line.


It should look similar to this picture.


Step Six
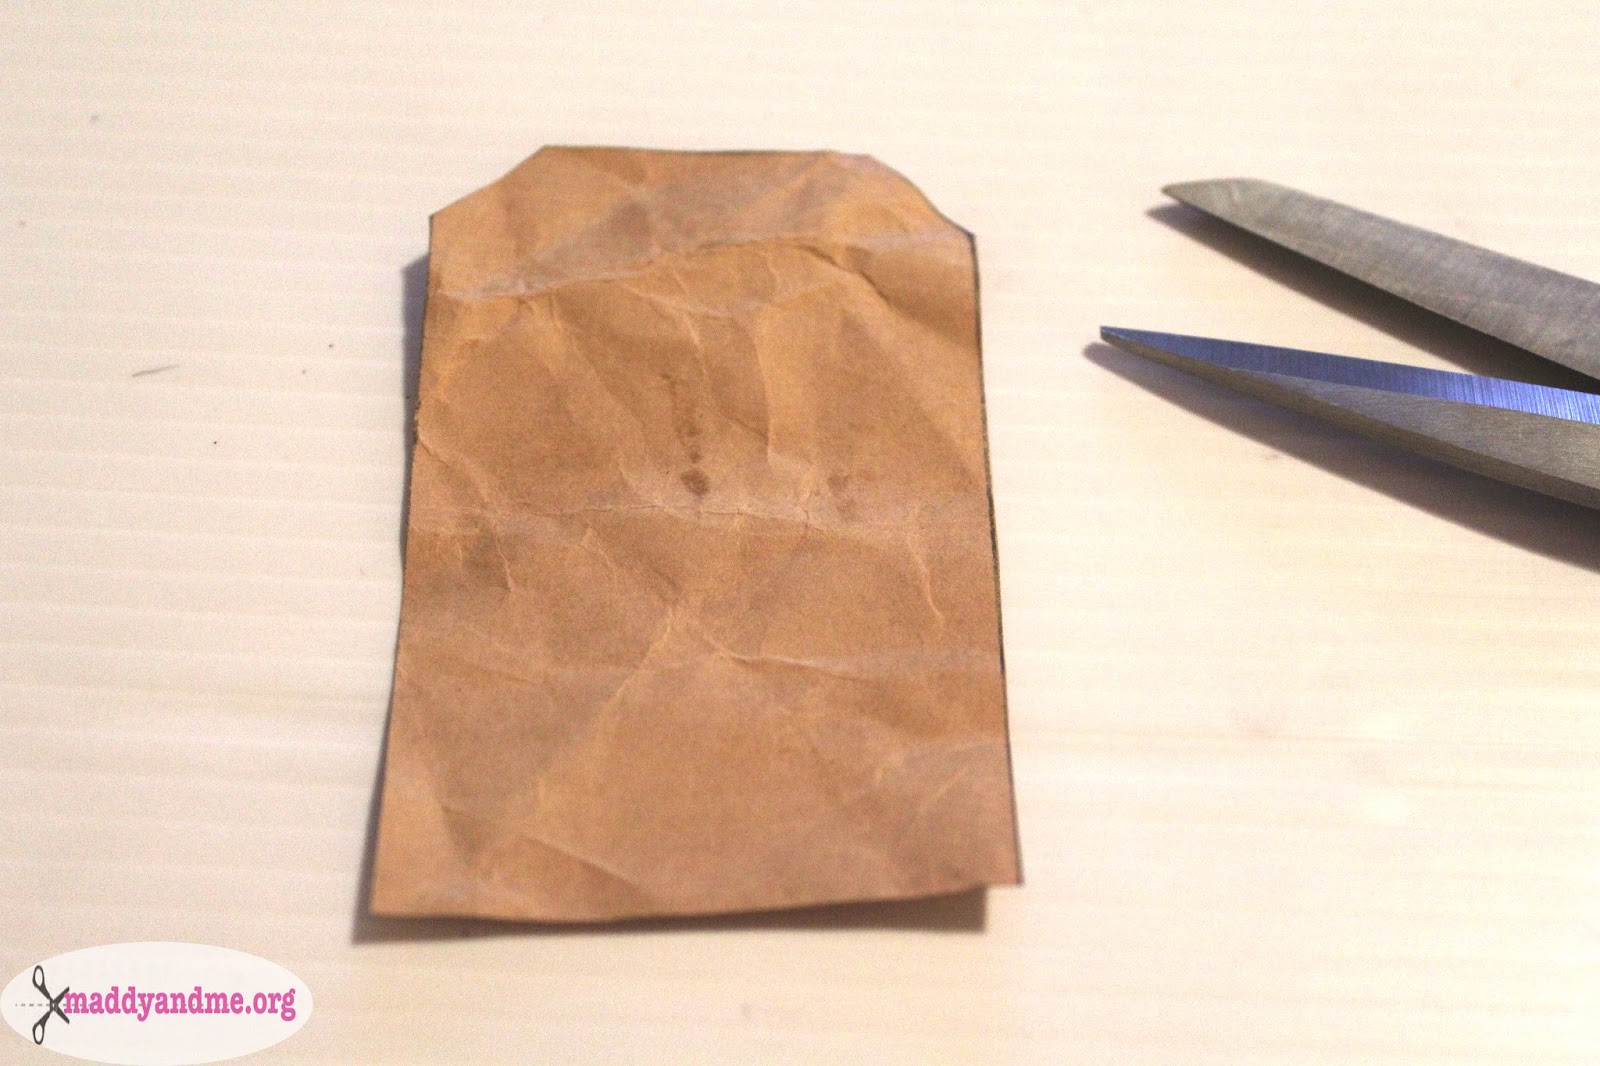
At the top of your tag, join both of the 1cm dots with a line.


Step Seven
Cut your tag out. 


Step Eight
Mark and hole punch the center of your 1cm line. 


Step Nine (optional)
Stick your hole punch sheet protector sticker over the hole.


Step Ten
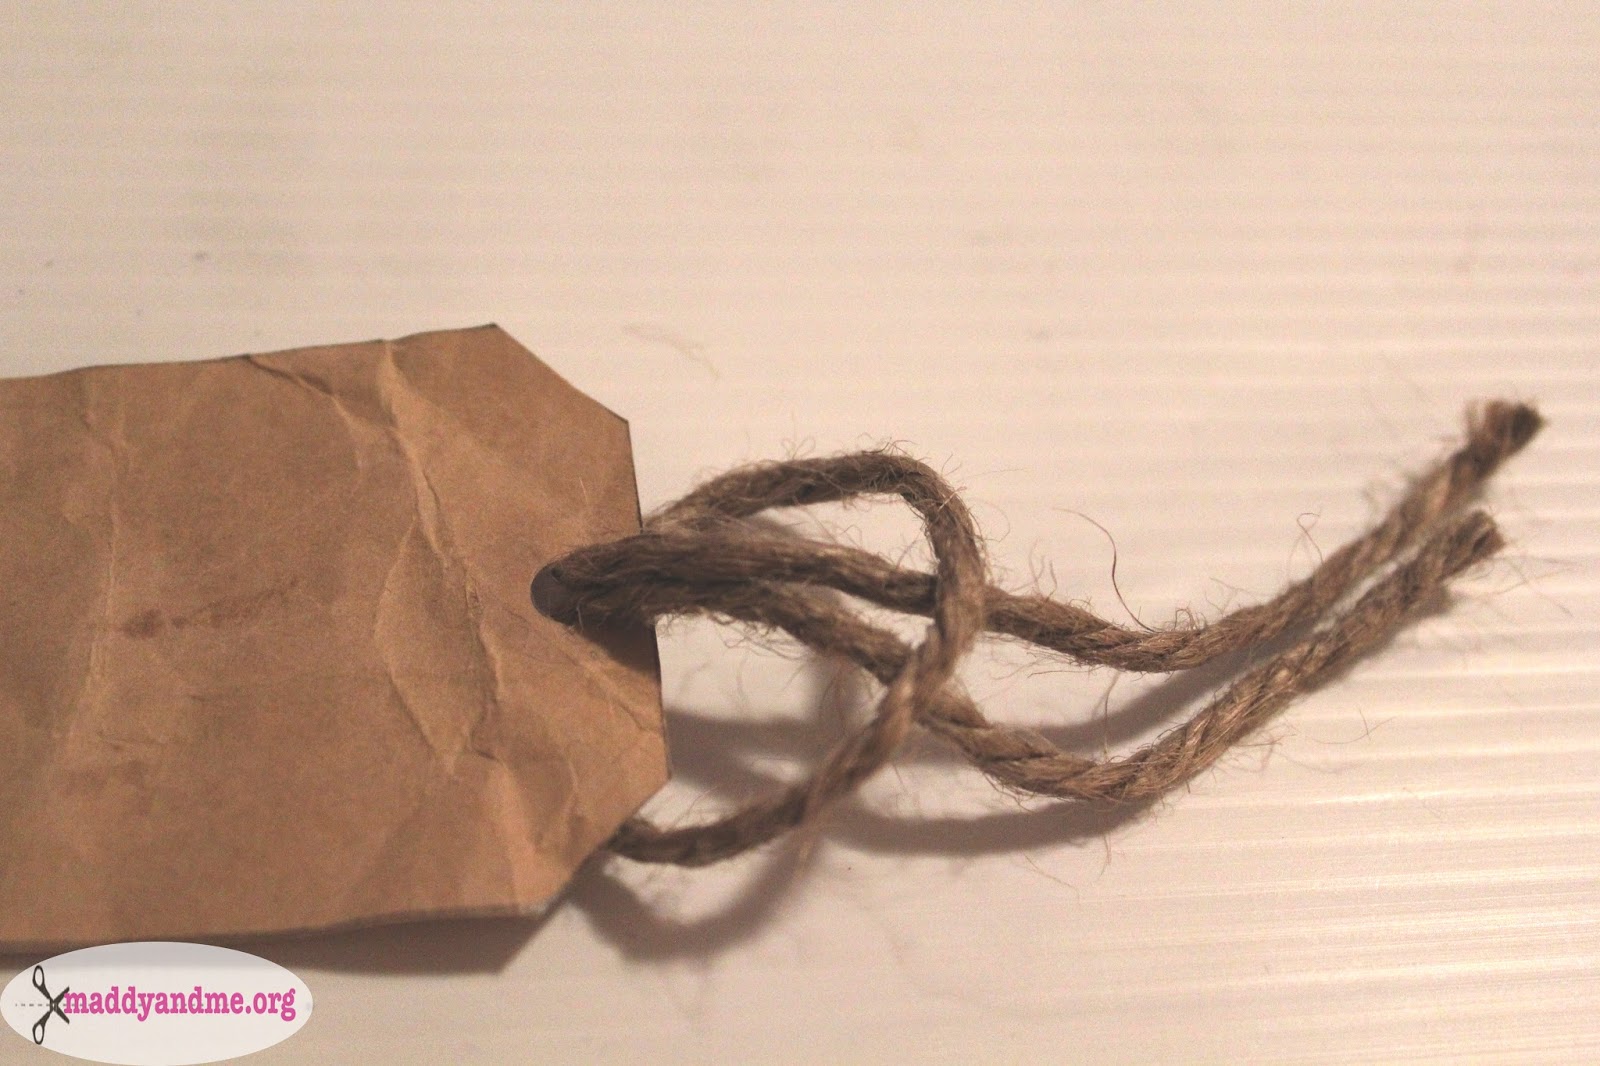
Cut your twine to your desired length and thread both ends through the hole, leaving a loop free - as indicated in the picture. 


Step Eleven
Thread the two ends of your twine through the free loop and pull it to tighten the knot. 


TA-DA! You are now done, now to start getting creative with your cursive writing and label away your tags. 


I've made ones fit for all different types of occasions. Birthdays, baby showers, anniversaries, greetings... the list is endless!


Gift Tagging


First time visiting? Feel free to check out my other DIY Tutorials and follow by email (located on the top left corner) for news about future updates and DIY's. 

Instagram: Maddyandme12

Twitter: Maddyandme

Pinterest: Maddyandme

If you do decide to do this Tutorial, I would love to check it out, just hashtag it on Instagram with #maddyandme

Monday, 2 September 2013

Nail Tutorial: Polka Dot Nails

An easy Tutorial on the classic nail art of Polka Dot Nails. 


What You Will Need:
  • Nail polish for the base colour of your design (I chose Blue)
  • Nail polish for your polka dots (I chose White)
  • Clear Top Coat
  • Toothpicks


Step One
Apply an opaque coat of your base nail polish.
Allow to dry completely before continuing on with your design.


Step Two
On a piece of paper put a few drops of your chosen Polka Dot Nail polish.
Dip the tip of your tooth pick in the colour and just dot it on your nails. 
Start with a diagonal dotted line in the center of your nails, continue diagonally using that center line as a guide - this way its evenly spread.

Step Three
Continue with the rest of the nails. 


Step Four
It should look similar to this picture. 
Allow to completely dry. 


Step Five
Apply a layer of your clear top coat. This protects the design and gives it a more finish look. 


Hand model?


First time visiting? Feel free to check out my other DIY Tutorials and follow by email (located on the top left corner) for news about future updates and DIY's. 
Instagram: Maddyandme12

Twitter: Maddyandme

Pinterest: Maddyandme

If you do decide to do this Tutorial, I would love to check it out, just hashtag it on Instagram with #maddyandme

Thursday, 22 August 2013

DIY: Rose Lampshade

Why spend $$ on a new lamp shade when you can just DIY it yourself? Today's Tutorial will be based on how I revamped our old Bedside Lampshades on a budget, into something romantic, sheik and fricken adorable.

Inspired: Recently I've been motivated to redecorate our master bedroom, why? Modern (our previous bedroom theme) is just not me. Our master bedroom palette is now based on pastels, romance, vintage items, you know... the things that make me smile. One thing that I wanted to throw out was our horrid lamps we got on sale at Kmart 2 years ago, it was cheap and functional (what we were going for when we were just starting out). After window shopping around, I noticed any decent Lampshades out there were way over budget - thus, I DIY'd. 
Verdict: I love it! And I'm really glad to say, Mr Pham (whom has no interest in how our master bedroom is decorated) is even impressed and loves it too.


The Before Shot 
Our Lampshades before the refurbishment.
They were out of place in our master bedroom and
needed a make over.


What You Will Need:
  • Tissue Paper - Dollar Store
  • Scissors
  • Ruler
  • Pencil
  • Hot Glue Gun
  • Your Lampshade


Step One
On your tissue paper, draw your strips 1.5" in width and 13" in length. 
Keep in mind the longer your length is, the more volume and larger your rose will be. 


Step Two
Cut your strips using your scissors. 


Step Three
Individually scrunch your strips into balls. 


Step Four
Unscrunch your strips - it is now time to form your roses. 

Roll your strip up about 1/3 of the strips length - as indicated in the picture. 


Step Five
Squeezing one end of the rolled part of the strip, start gathering and twisting the strip around the roll. 


From the top view, the strip should start to form into a rose - as indicated in the picture.


Step Six
When you are about 1" from the end of the strip, twist the end around - it should look similar to the picture. 


Step Seven
Wrap the twisted end around the rose and use your glue gun to glue it down. 


You should be left with something similar to this. 


Step Eight 
Using your scissors, cut the extra stem off - Make sure not to cut off where you have glued, or else the whole rose will fall apart. 


Step Nine
Using your hot glue gun, apply some glue to the base of the rose and glue it to the lampshade. 
The direction I glued my roses was horizontal, but you can glue it in any direction you would like. 


And there you have it! Your DIY'd rose lamp - romantic, vintage and sheik. Bravo!


Decorating. 


First time visiting? Feel free to check out my other DIY Tutorials and follow by email (located on the top left corner) for news about future updates and DIY's. 
Instagram: Maddyandme12

Twitter: Maddyandme

Pinterest: Maddyandme

If you do decide to do this Tutorial, I would love to check it out, just hashtag it on Instagram with #maddyandme