Showing posts with label home decor. Show all posts

Thursday, 22 August 2013

DIY: Rose Lampshade

Why spend $$ on a new lamp shade when you can just DIY it yourself? Today's Tutorial will be based on how I revamped our old Bedside Lampshades on a budget, into something romantic, sheik and fricken adorable.

Inspired: Recently I've been motivated to redecorate our master bedroom, why? Modern (our previous bedroom theme) is just not me. Our master bedroom palette is now based on pastels, romance, vintage items, you know... the things that make me smile. One thing that I wanted to throw out was our horrid lamps we got on sale at Kmart 2 years ago, it was cheap and functional (what we were going for when we were just starting out). After window shopping around, I noticed any decent Lampshades out there were way over budget - thus, I DIY'd. 
Verdict: I love it! And I'm really glad to say, Mr Pham (whom has no interest in how our master bedroom is decorated) is even impressed and loves it too.


The Before Shot 
Our Lampshades before the refurbishment.
They were out of place in our master bedroom and
needed a make over.


What You Will Need:
  • Tissue Paper - Dollar Store
  • Scissors
  • Ruler
  • Pencil
  • Hot Glue Gun
  • Your Lampshade


Step One
On your tissue paper, draw your strips 1.5" in width and 13" in length. 
Keep in mind the longer your length is, the more volume and larger your rose will be. 


Step Two
Cut your strips using your scissors. 


Step Three
Individually scrunch your strips into balls. 


Step Four
Unscrunch your strips - it is now time to form your roses. 

Roll your strip up about 1/3 of the strips length - as indicated in the picture. 


Step Five
Squeezing one end of the rolled part of the strip, start gathering and twisting the strip around the roll. 


From the top view, the strip should start to form into a rose - as indicated in the picture.


Step Six
When you are about 1" from the end of the strip, twist the end around - it should look similar to the picture. 


Step Seven
Wrap the twisted end around the rose and use your glue gun to glue it down. 


You should be left with something similar to this. 


Step Eight 
Using your scissors, cut the extra stem off - Make sure not to cut off where you have glued, or else the whole rose will fall apart. 


Step Nine
Using your hot glue gun, apply some glue to the base of the rose and glue it to the lampshade. 
The direction I glued my roses was horizontal, but you can glue it in any direction you would like. 


And there you have it! Your DIY'd rose lamp - romantic, vintage and sheik. Bravo!


Decorating. 


First time visiting? Feel free to check out my other DIY Tutorials and follow by email (located on the top left corner) for news about future updates and DIY's. 
Instagram: Maddyandme12

Twitter: Maddyandme

Pinterest: Maddyandme

If you do decide to do this Tutorial, I would love to check it out, just hashtag it on Instagram with #maddyandme

Friday, 12 July 2013

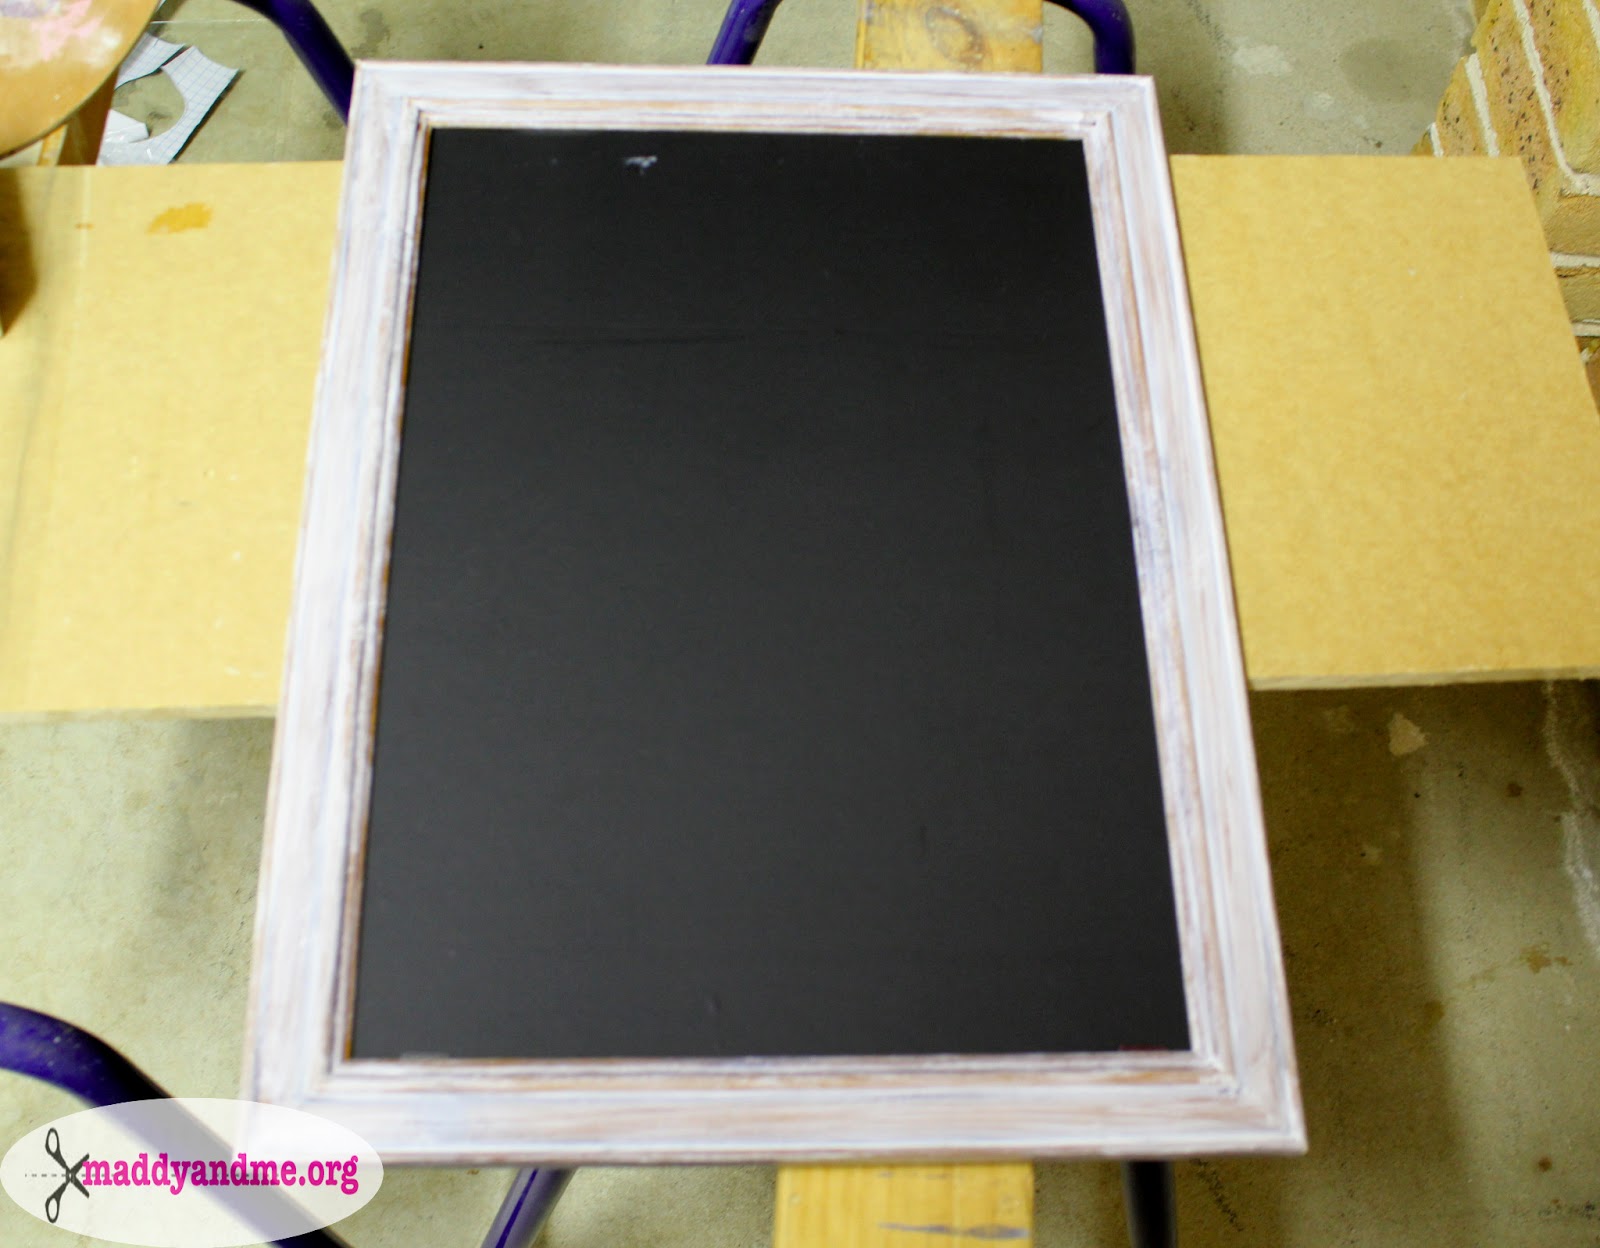
DIY: Turn An Old Photo Frame Into Your New Vintage Chalkboard.

An easy DIY on how you can recycle an unused old photo frame into a new vintage item to add to your home. 

Inspired: After Mr Pham and I got married we returned from our Honeymoon with a house full of wedding decorations. Frames being one of them. I had stored them away into boxes and kept them under our staircase (I felt like I was throwing away money when I thought of throwing our wedding decorations in the bin). A few weeks ago after looking through the boxes I saw the frames that had very well collected dust and was inspired to recycle one of them into a chalk board.
Verdict: It sits in our kitchen with a daily check list written up there. Nothing feels better than ticking off something you've accomplished, especially when it's written on something so adorable!

Materials You Will Need:
  • Your old photo frame
  • Chalkboard adhesive paper (bunnings)
  • A dry paint brush
  • Paint - I had chosen white (dollar store)
  • A pair of scissors


Step One
Disassemble your frame - making sure to take out the glass. 
Continue your DIY by painting the frame, for a more rustic look make sure you use a dry brush, using long brush strokes with light layers. 
I had painted 2 very sheer layers. 


Step Two
Allowing the frame to dry, get the back base of the frame and lay it on the wrong side of your adhesive chalk board paper. 
Leaving about a 2cm gap, cut around the back base of your frame. 
Continue by covering the back base of the frame - making sure there is no air bubbles. 


Step Three
Once the frame is dry reassemble everything together. 


Yay! And you are done. Just get the chalk and start writing away.


Decorating.


I hope you all enjoyed this DIY Tutorial and give it a try!

If you do decide to do this Tutorial, I would love to check it out, just hashtag it on Instagram with #maddyandme

Monday, 13 May 2013

DIY Tutorial : Vintage Mason Jar Chalkboard Tags


Here's a DIY Tutorial on how you can add a little country vintage decor to your home - Chalkboard Mason Jar Tags

Inspiration: My yummy mummy blogging bff sarahvstheworld uploaded a DIY Tutorial on how to make mason jars out of used coffee cans, it immediately caught my attention and inspired me to create a DIY. Check her DIY here (She also has awesome DIYs and mummy tips!).


You Will Need:
  • Twine
  • Coasters (I've used Adhesive Paper to decorate my coasters),
  • Chalkboard Adhesive Paper (bought from Bunnings)
  • Drill
  • Compass
  • Lead Pencil
  • Scissors


Step One
Mark and drill two holes, at the top, from the back of the coasters.


Step Two
Use your compass and draw a circle on the back of your Adhesive Chalkboard Paper, about 1cm smaller than your coaster.


Step Three
After cutting out the circle you've drawn, peel and stick it in place on your coasters. 


Step Four
Cut your twine to your desired length. I cut mine 60cms (Enough to wrap around the top of my Jars).


Step Five
Thread your cut twine ends from the back of your coasters, through the holes you had drilled. Knot both ends to keep in place. 


Yay! You've now completed your Vintage Charm. Just add some chalk and label away. 
These would be ideal gifts for your mother, great for that candy buffet at your next party, or to hang on your daughters bedroom door. 


Decorating.


I hope you all enjoyed this DIY and get creative and make your own. 
If you do happen to do this DIY, let me check it out on instagram and hash tag it #maddyandme